Showing posts with label cooking. Show all posts

Tuesday, March 8, 2011

Skillet Handle Sleeve...Tutorial

I'm constantly burning my hands on my cast iron skillets. I know it's not hard to grab a potholder before lifting the pan from the burner...it's just not a step I often take. I've been saying that I need to make some handle pads for a while. 
{Usually it comes out like, "Ouch!" (slam) "I need to make sleeves for these things!"} 
Well, today was the day. And just in case you, too, have been slamming your cast iron pans down in pain...I thought I'd share the tutorial:)

 Lay your pan {face down} on paper. 
Trace around the handle of your pan, adding 3/4" all around. 
This is your pattern.

 Cut out your pattern, and use it to cut 4 pieces from the fabric of your choice and 2 pieces from a thick batting. 
{I used heavy decorator fabric because that's what I had.}

Put 2 pieces of fabric right sides together. 
Sandwich these between 2 pieces of batting.

Pin to hold in place. 
Stitch down each side only, using a 1/4 " seam allowance.
{Don't sew either end yet.}

Turn right side out. 
{Using a chopstick helps to push/turn the fabric}
Try it on your pan handle to make sure it fits.

Sew the remaining two pieces of fabric together in the same manner, this time using a 3/8" seam allowance. 
{right sides together, sewing down each side only}

Pull the padded piece inside the liner, as shown below.
{The units will be right sides together.}

Line up seams, and stitch around the top edge, using a 1/4" seam allowance. 
It's hard to see in the photo below because I used white thread. Sorry! 
It is easiest to hand stitch this so you don't accidentally sew it closed. 
{This is the straight edge that will be the sleeve opening for your pan handle.}

Turn the whole thing inside out. 
{easier said than done}

It's not too bad if you do it in two steps:
Pull the inside {padded} piece out of the liner through the open end.

It will look like this:

Now, stuff the padded piece inside the liner. 
Straighten it out, and match up your seams.

Sew the raw edges on the end together, making sure to go through all layers.

Turn your sleeve right side out and try it on your pan!
Isn't she cute?
My hands feel better already.

Thanks for stopping by!


Linking to

Thursday, October 28, 2010

Craving cranberries?


I've been waiting for this all year. Cranberries. They're back! I don't know about your area, but around here, grocery stores only carry fresh cranberries for 'the holidays'. I found this out the hard way when I hunted for the tasty tart treats in June, and produce workers everywhere looked at me like I was nuts. You know how it is when you know you can't have something...or is that just me? I've been craving these little buggers in a bad way ever since.

This year, I'm stockin' up. I guess I've been a little whiny about it, because when I excitedly threw some in my cart the other day, my 12-year-old said, "Really, Mom? Only four bags?" Oh, I'll be grabbing more, don't you worry. I just didn't want to spend more than $10 at a shot for fresh cranberries:)

Anyway, I'm celebrating! I thought it would be fun to have a little cranberry chaos right here. So, I'll share some of my favorite cranberry recipes during cranberry craving week. I'll get a linky set up, so you can join in, too. 'Tis the season, ya know;)

Monday, August 30, 2010

How to Make an Apple Pie and See the World

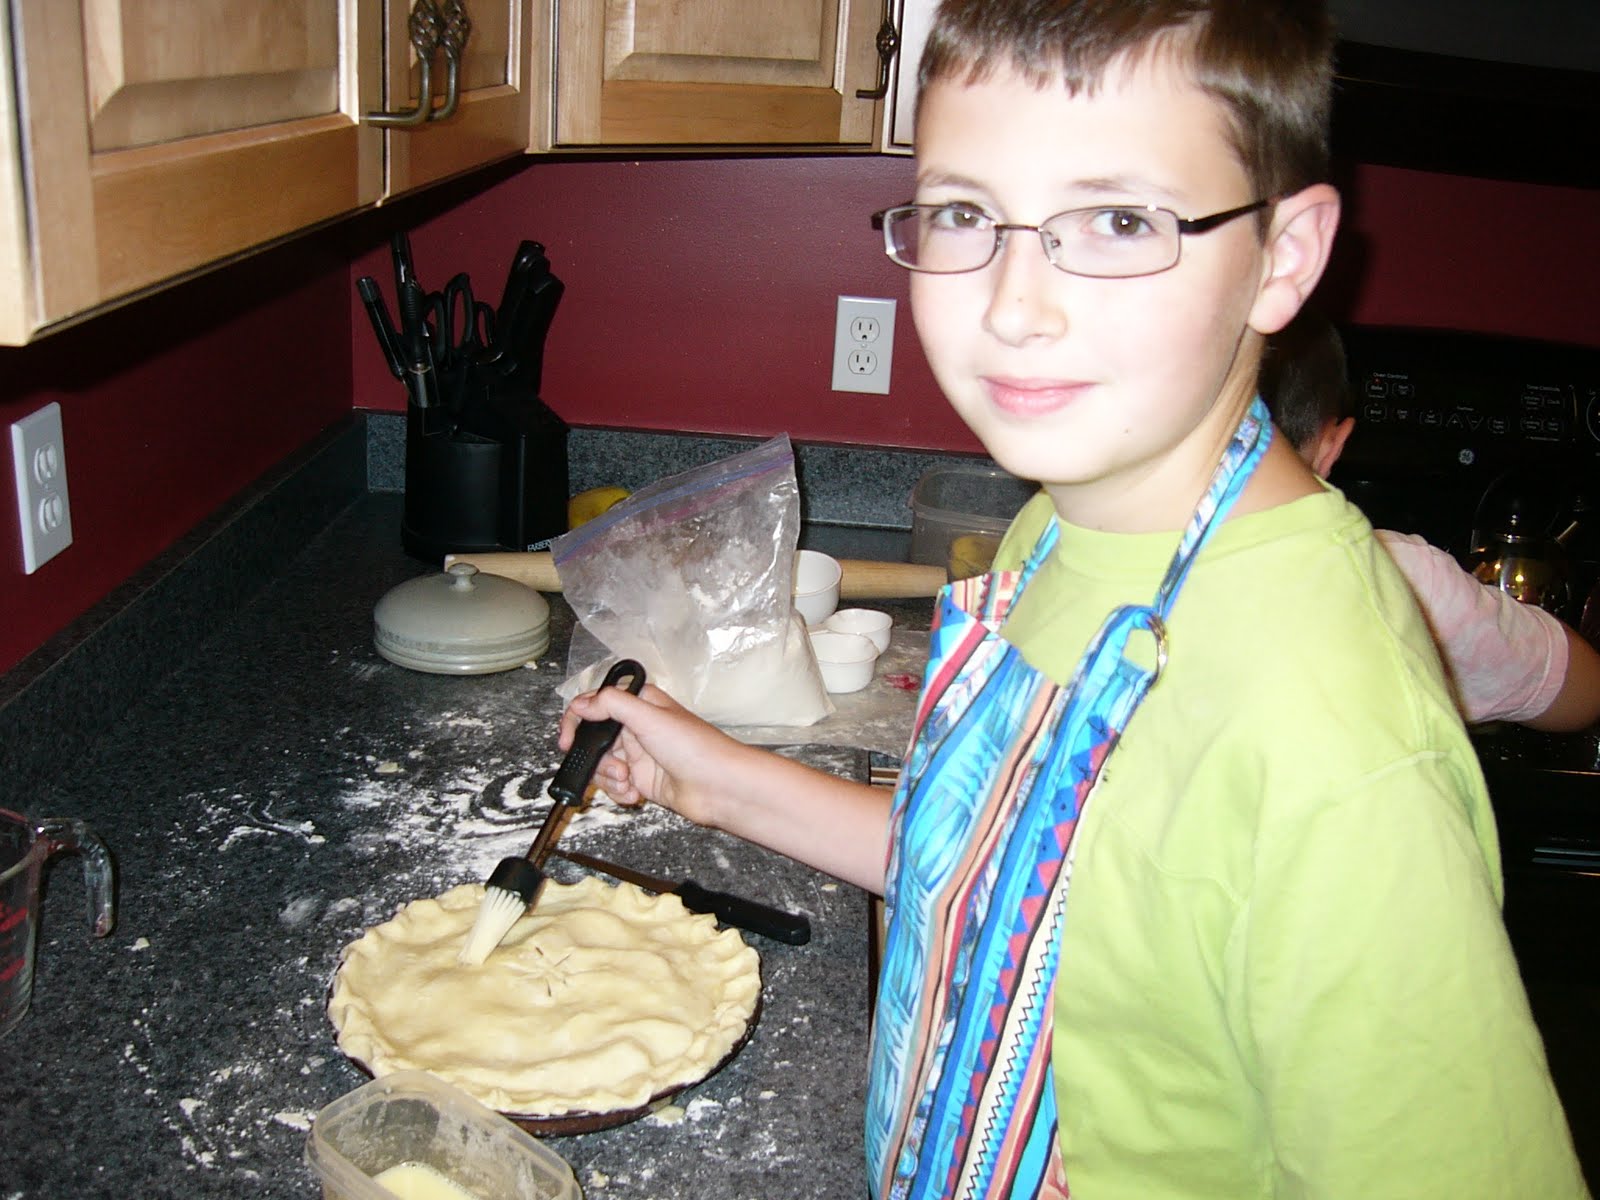
As a fun supplement to our geography studies on Friday, we read How to Make an Apple Pie and See the World by Marjorie Priceman. We "traveled" from the jungles of Sri Lanka to the apple orchards of Vermont to gather ingredients for an apple pie. Later, the boys baked an apple pie, of course! They had some pie dough leftover, so they also made a small cherry pie. It was an activity that supported geography, home ec, and math! Of course, their dad was more than happy to come home from work to grade this project:)

Delicious!
They had so much fun! Now, they want to read How to Make a Cherry Pie and See the U.S.A. ;)

Friday, August 20, 2010

The apron's on the hook.

What a day. Two days, actually. 
Yesterday morning, I started my yearly endeavor of turning this...

into this...

That's 20 quarts and 6 pints of spaghetti sauce!

It took 2 days to complete this mission. Yesterday, I only got the tomatoes juiced because Goober had an appointment at 1:00 pm to meet his new nemesis "appliance". He now has a retainer for both his top and bottom teeth. Aside from falling out of his mouth at night (he sleeps with them in) and making it hard to speak clearly, it hasn't been too bad. At least, I think that's what he said. :)

I thought I would never see the end of those tomatoes. Hubby was sweet enough to bring home some turkey for sandwiches so I didn't have to cook. Much appreciated. I probably would have ladled some sauce in a bowl and said, "Dip some stuff in that."

We started making our sandwiches, but Tootsie was feeling a bit indecisive. Our conversation went something like this:

Me: But what do you want with your bread?
Tootsie: (shoulder shrug)
Me: How about peanut butter?
Tootsie: Yes!
Me: And jelly?
Tootsie: Turkey.
Me: You mean, peanut butter and jelly?
Tootsie: No. Peanut butter and TURKEY.
Me: Turkey and peanut butter??
Tootsie: Yes!

All of a sudden, she was quite decisive. Who am I to tell her what's what with her own palate? Peanut butter and turkey comin' right up. (At this point, the boys were looking at me in disbelief and bursting with laughter. The Hubby was getting changed upstairs, so he missed my stellar parenting.) You know what?...She ate the whole thing.

So, I washed the {many} dishes and hung my apron back up on the hook.

Friday, August 13, 2010

Preserving Peaches

Fresh peaches. I craved them during every pregnancy. I could never get enough. Unfortunately, they're not in season all year long. A few years ago, I tried canning some fresh peaches, and they were fantastic! They are so much better than store-bought canned...even the expensive ones. I'll be honest: they take some time and effort, but when you're enjoying these delicious peaches in December, you'll agree that they are totally worth it!

My favorite variety for flavor and ease of peeling and pitting has been Flaming Fury. They also hold up well during processing. Whatever you get, just make sure they are free stone or cling-free, which means the pit is easily removed. I canned 1/2 bushel this year and ended up with 16 quart jars. They look so pretty! I've given these as gifts and used them in pies. Mostly, we just devour them from the jar. Imagine a dollop of fresh whipped cream on top...yum.

Preserving Peaches

syrup
4 cups sugar
12 cups water
(you may need an additional half-batch of syrup)

Wash peaches; drain. 

Peel peaches. 
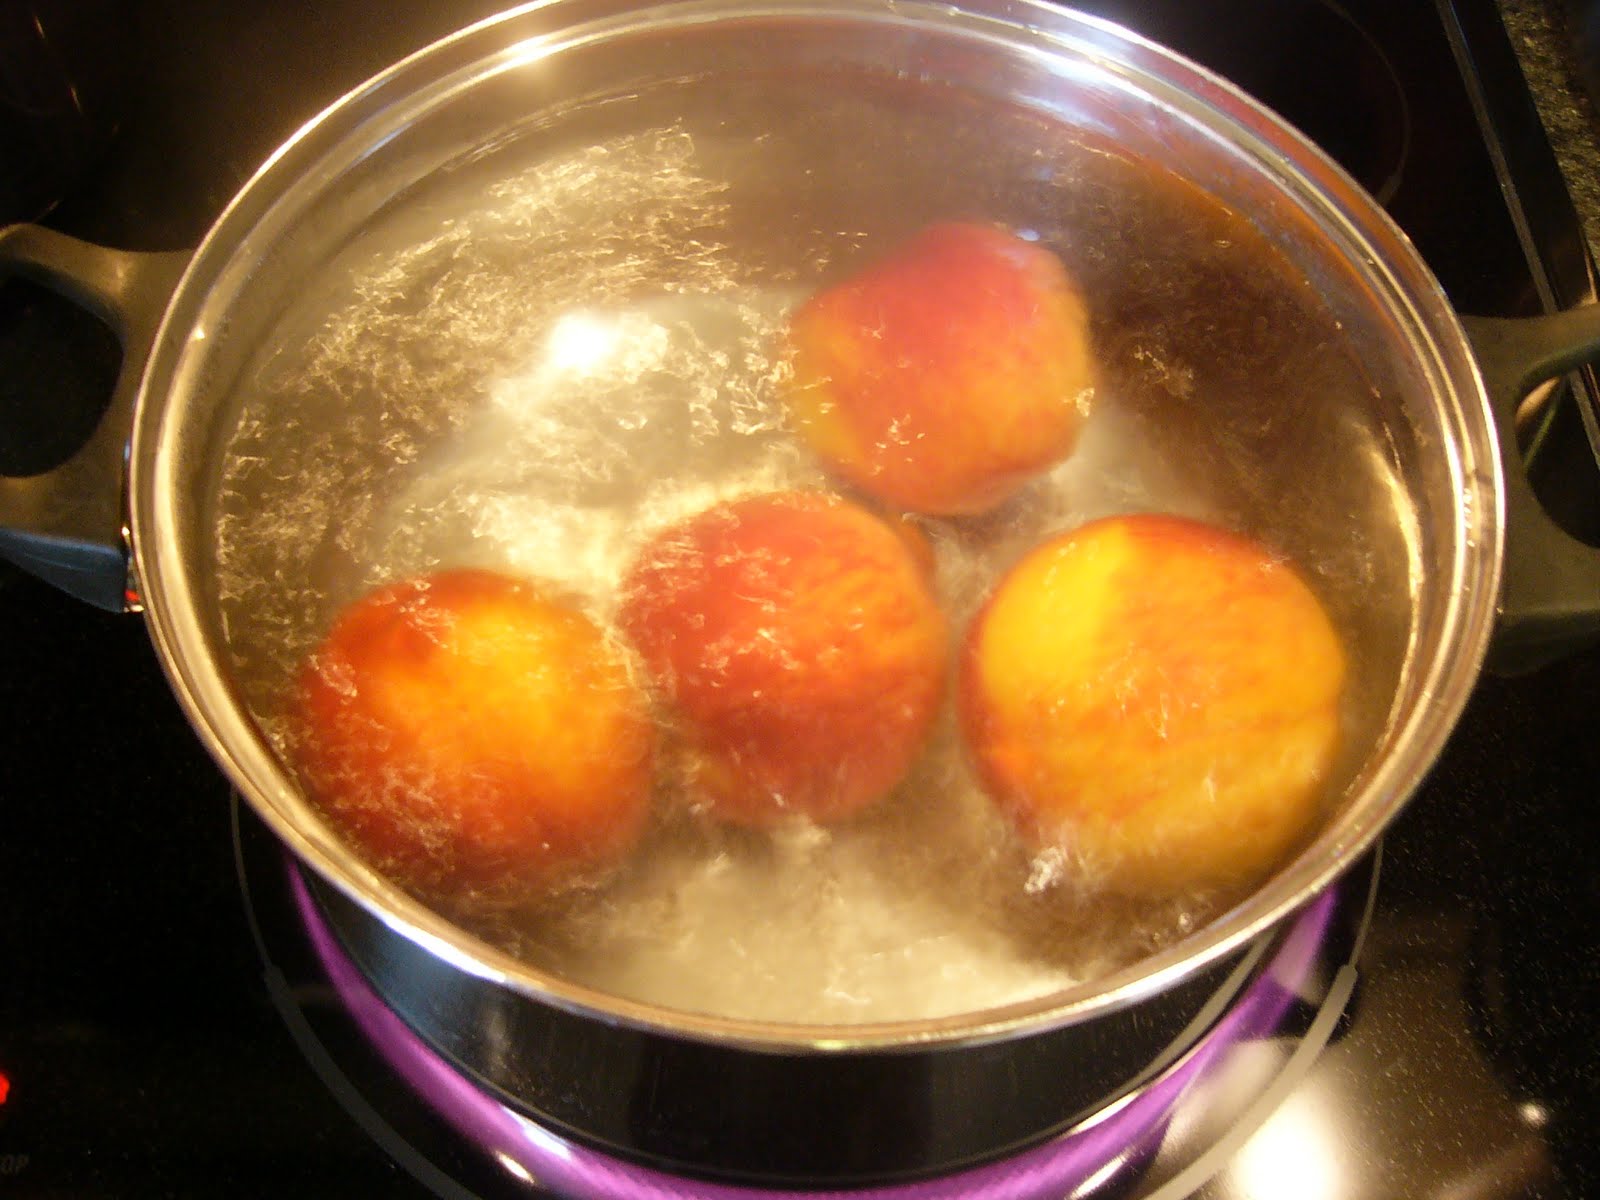
To peel peaches, dip in boiling water for 30 seconds. 

Immediately drain and place peaches in cold water. 


 Slip off peel.


Cut in half, pit and scrape cavity to remove fibrous flesh.

At this point, you may wish to treat the peaches to prevent darkening in an ascorbic acid solution or Fruit-Fresh. I used it the first year, but I usually skip this step. (I don't notice much of a color change.) I just put mine in cold water. Heat syrup in a large pot and keep hot.

Fill canner with water, put jars in, and heat on stove. 

Put lids and rings in hot water and keep hot. 

Drain peaches. Pack peaches into hot jars, leaving 1/2-inch headspace. Ladle hot syrup over peaches, leaving 1/2-inch headspace. Remove air bubbles by sliding a plastic knife down the sides of the jar. Wipe jar rims clean, and place lids and rings on top. Process pints 25 minutes and quarts 30 minutes in a boiling-water bath canner.

Remove jars from canner and place on a towel, undisturbed, for 24 hours. 

 Smile when you hear this sound...

Remove rings, and wipe jars and threads. (They may be sticky from syrup residue.) Enjoy...especially when there's snow on the ground! :)


Wednesday, July 21, 2010

Freezer Cooking Day!

I finally did it. Crystal and Laura do it all the time. It seemed like such a good idea, but I had a hard time getting motivation and time to coordinate with each other. Finally, I managed to devote a day to stocking my freezer with meals. Hopefully, it will make breakfast and dinner easier on those busy days. Here's what I made yesterday:

  • 2 batches of homemade baking mix (Bisquick)
  • 1 loaf of whole wheat bread
  • 1 loaf whole wheat bread dough
  • 2 batches of pizza dough
  • 2 batches of waffles
  • 2 batches of pancakes
  • 2 strombolis (froze 1, ate 1 for dinner)
  • 2 lbs cooked shredded chicken
  • 3 spaghetti pies (froze 2, saved 1 for dinner tonight)
  • 1 batch homemade chicken nuggets
  • dried kidney beans (soaked & recipe-ready, frozen)
  • dried great northern beans (soaked & recipe-ready, frozen)
The kids were so good all day. I didn't even have to threaten them!:) Tootsie popped in and out of the kitchen to help me, and the boys kept saying how yummy it smelled in the house. I started at 8:30 a.m. and when I was done, I literally had to run out the door for VBS. I got home at 9:30 p.m. I was beat. But it was so nice for the kids to be able to have pancakes and waffles this morning...even BEFORE I had the necessary caffeine in my system.

Do you ever have freezer cooking/baking days?


LinkWithin

Related Posts with Thumbnails